Aug
The Art of Drying Summer Fruits at Home
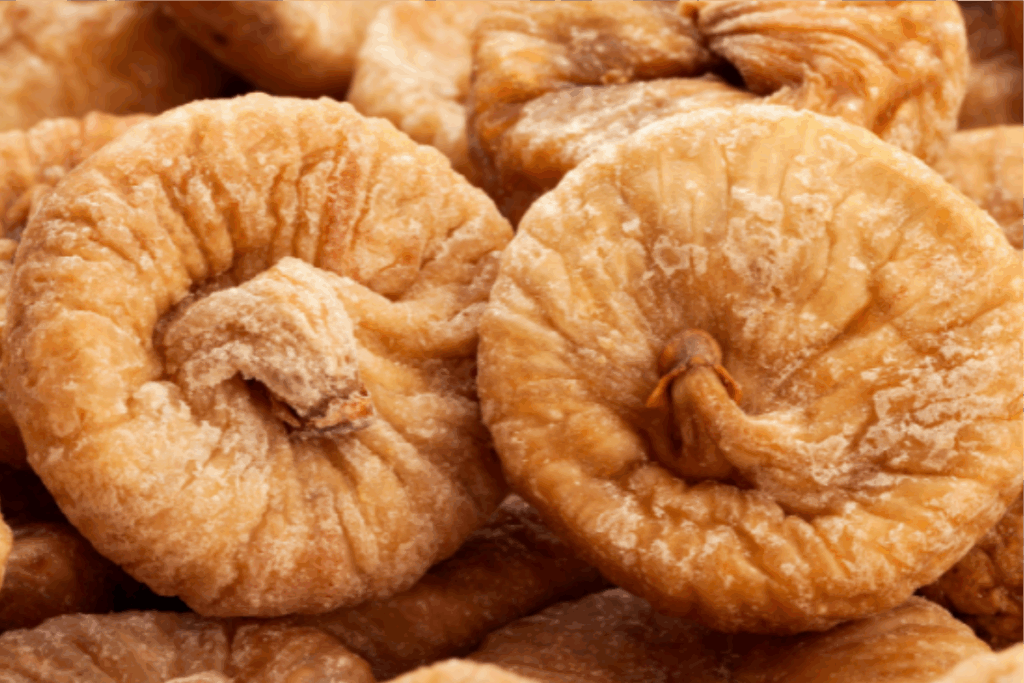
When summer rolls in, the fruit stands come alive. Juicy plums, vibrant nectarines, sweet figs, and fragrant apricots, just the thought of them is enough to make your mouth water! But the season and its colorful fruits don’t last long, and soon the variety fades. For those of us who love summer fruits, there’s nothing more satisfying than drying them to enjoy during the long winter nights.
Drying fruit isn’t just a healthy, preservative-free way to store produce; it’s also a relaxing summer ritual. Especially when the sun is shining, the weather is warm, and there’s time to enjoy hands-on projects like this.
In this guide, we’ll walk through how to dry summer fruits at home, from plums and figs to nectarines, apples, and more. We’ll cover different drying methods (sun, shade, and oven), share all the key tips and tricks, and finish with a look at the health benefits of dried fruit.
Why Do We Dry Fruit?
The first thing that comes to mind might be shelf life, but that’s just the beginning.
- Dried fruit is a completely natural snack: no added sugar, no preservatives, and no artificial coloring.
- It’s perfect for travel and on-the-go snacking, lightweight, compact, and full of energy.
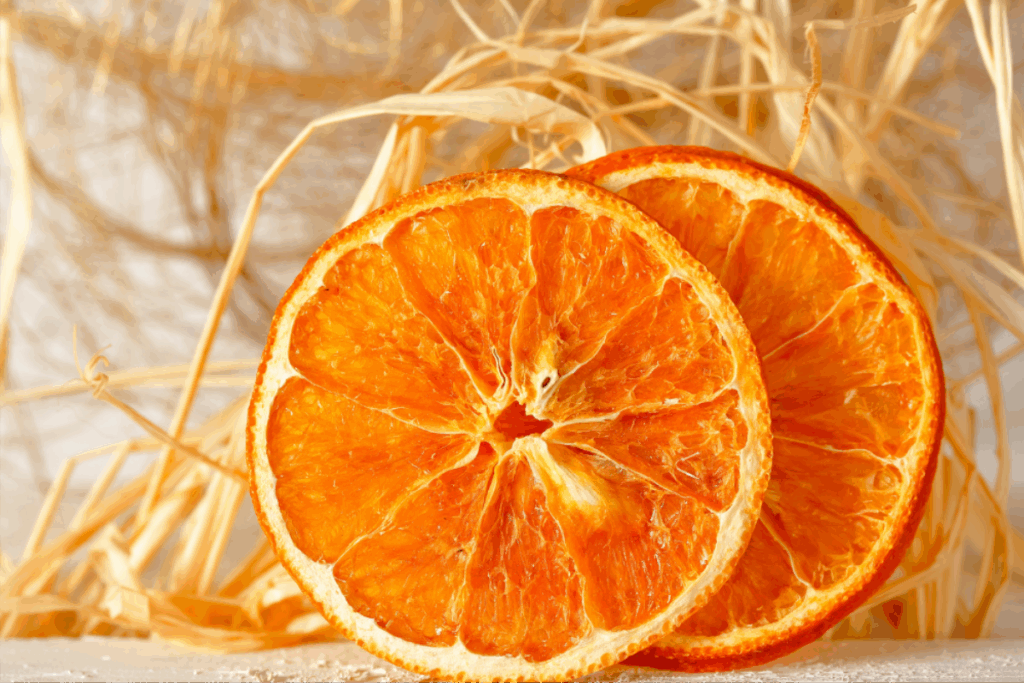
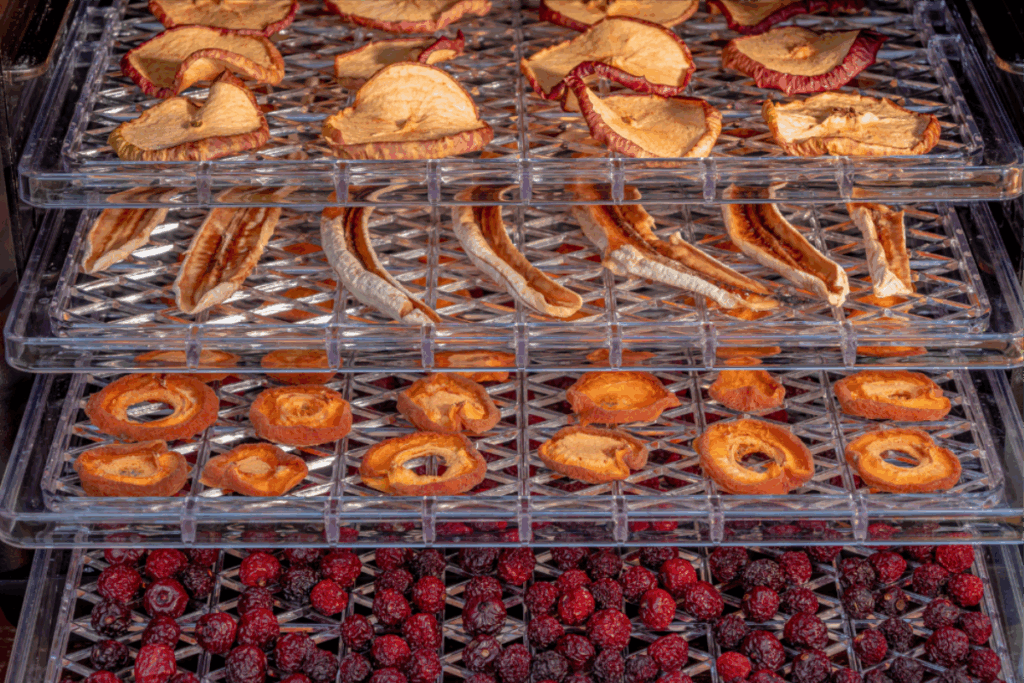
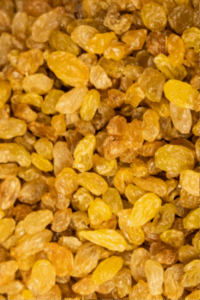
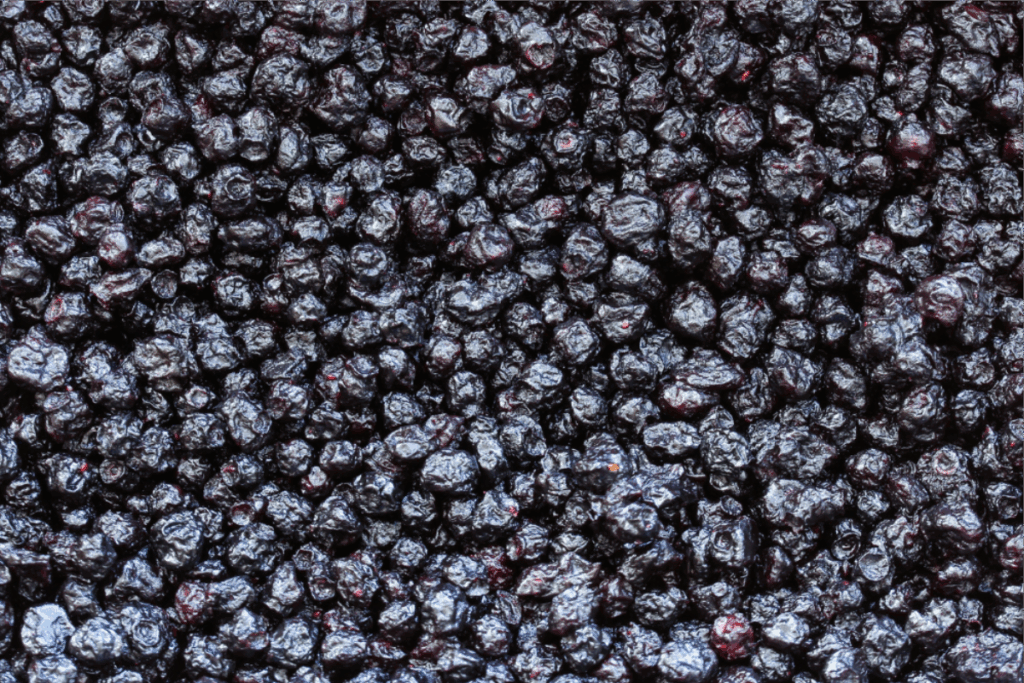
- The variety is endless! From plums and apples to nectarines, figs, bananas, and beyond, no chip or junk snack compares to the flavor and goodness of dried fruit.

Getting Started: Basic Tips for Drying Fruit at Home
Before we get into the methods, keep these important basics in mind:
- Use ripe, fresh fruit, not overly soft or bruised, and not under-ripe or too firm.
- Wash and dry the fruit before slicing.
- Fruits like apples, bananas, and peaches tend to brown quickly when exposed to air. To avoid this, soak the slices for 5 minutes in a mixture of 4 parts water to 1 part lemon juice.
- Slice the fruit evenly, not too thin or it’ll get brittle, not too thick or it’ll stay damp inside. Aim for slices about 3 to 5 mm thick.
Methods for Drying Fruit
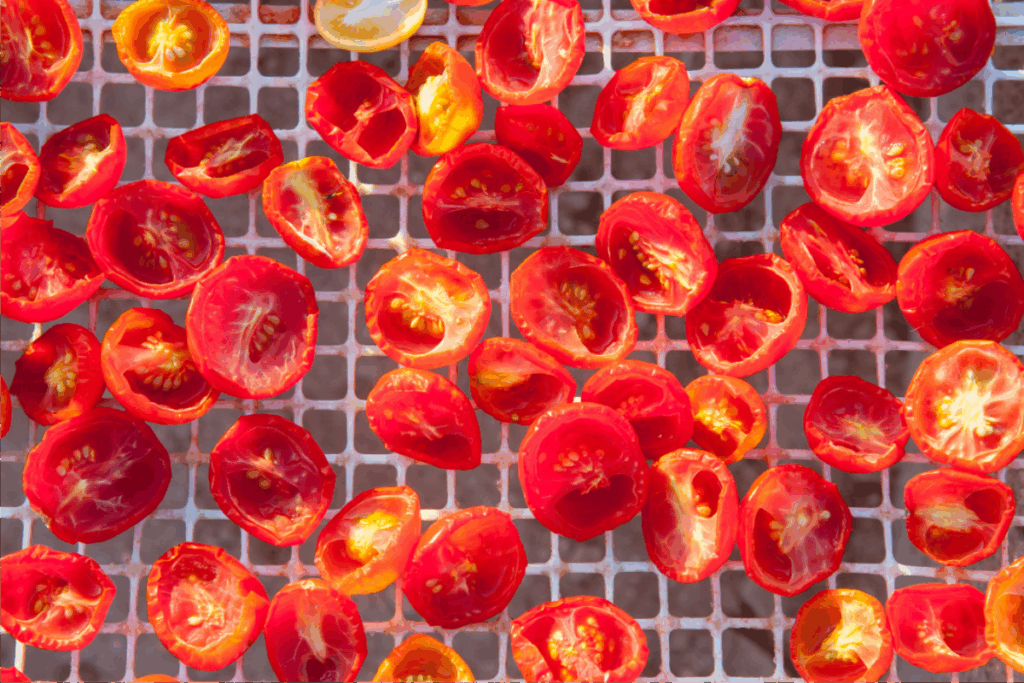
- Sun Drying: This is the most traditional and natural method, and one many of us have nostalgic memories of. Arrange fruit slices on a clean tray or cloth and place them in direct sunlight. Cover with a thin mesh to protect from dust and insects.
Turn the fruit 2-3 times a day, and bring the trays inside at night to prevent moisture buildup.
Important tip:
If the fruit is exposed to too much heat or direct sun from the start, it may darken or lose its appeal. To avoid this, you can start by leaving the fruit in the sun for a day or two to evaporate some of the moisture, then move it to the shade to finish drying. This sun-then-shade combo keeps the color more natural and helps prevent mold.

- Shade Drying: Yes, you can dry fruit in the shade, and for fruits like figs, nectarines, or mulberries, this is often the best method. Spread the fruit on a clean tray or cloth in a breezy area out of direct sunlight. A covered balcony, porch, or shaded patio is ideal. Cover the fruit with mesh and remember to flip the slices regularly.
This method preserves the fruit’s color better and results in a gentler, more delicate flavor. It takes longer-usually 5 to 8 days depending on the fruit-but the results are worth it.
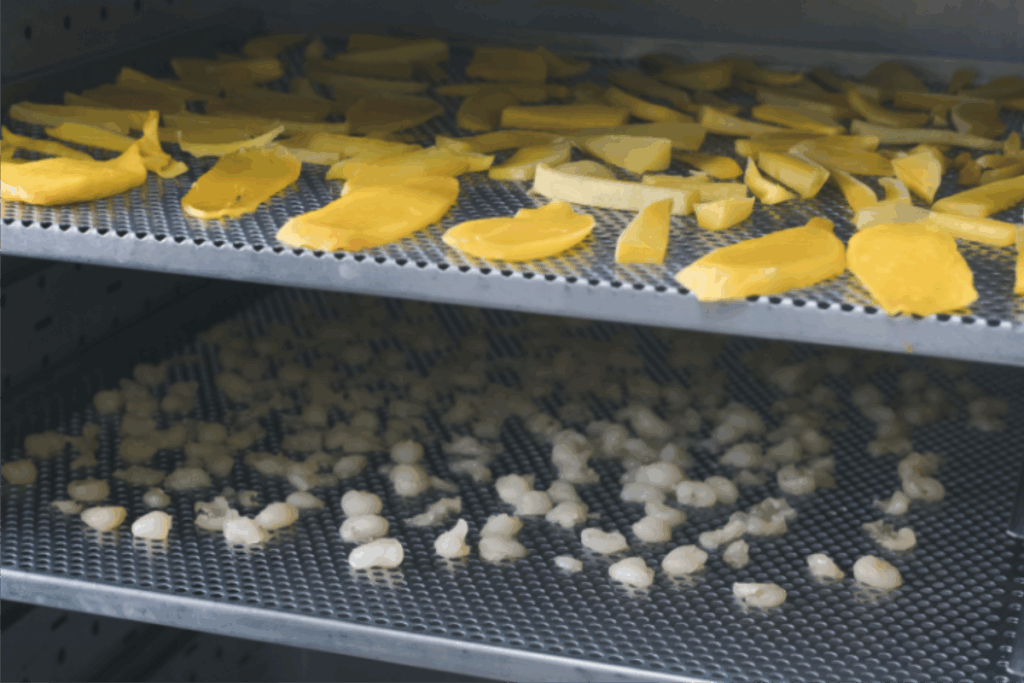
- Oven Drying: A great option for apartment dwellers or anyone without access to sun. Set your oven to 60-70°C (140-160°F). Line a tray with parchment paper, arrange the fruit slices, and leave the oven door slightly open to allow moisture to escape. Drying time is around 4 to 8 hours depending on the fruit type.
How to Tell When the Fruit Is Done
- The surface should look slightly wrinkled but not overly dry or brittle.
- The center shouldn’t be soft or moist.
- The slices should feel flexible but not sticky.
How to Store Dried Fruit
- Let the fruit cool completely after drying.
- Store in airtight jars or ziplock bags.
- A cool, dry, dark place is ideal.
- For long-term storage (several months or more), the fridge or freezer works best.
Health Benefits of Homemade Dried Fruit
Homemade dried fruit isn’t just delicious; it’s really good for you too!
- High in fiber: Great for digestion. Plums and figs especially help relieve constipation.
- Rich in antioxidants: Dried figs, grapes, apricots, and apples are all packed with antioxidants.
- Full of minerals: Many dried fruits are high in potassium, iron, calcium, and magnesium.
- Natural energy boost: Perfect for kids, athletes, or a healthy afternoon snack at work.
Final Thoughts
Drying fruit at home takes time, care, and a bit of patience, but the results are healthier and tastier than anything you’ll find in a package. Whether you use sunlight, shade, or an oven, a few simple tools and steps are all it takes to make your own stash of homemade dried fruit.
Pick your favorite summer fruits-like plums, figs, nectarines, or apples-and with just a few simple tips, you’ll create not only delicious snacks but also a wholesome supply for the colder months.
Every time you bite into a piece of this homemade dried fruit, you’ll taste the summer sun, the sweetness of the season, and the quiet satisfaction of a little effort well spent.